
A Beginner's Guide on How to Clean Windows After Construction
Post-construction window cleaning doesn't have to be complicated when you know the right steps. This guide walks you through the complete process, from preparing your supplies to achieving that final sparkle. A trusted cleaning team would follow these same proven methods to get professional results. We'll cover everything you need to know about removing construction debris, treating tough stains, and getting streak-free shine. By the end, you'll have the confidence to tackle those dusty, splattered windows like a pro.
What You'll Need
Get your cleaning supplies ready before you start. Select a high-quality glass cleaner that effectively removes paint splatters, adhesive, and construction dust. Grab several microfiber cloths—they won't leave lint or streaks behind. You'll want a squeegee for bigger windows, a scrub brush or sponge for stubborn spots, and a bucket of warm water mixed with a few drops of dish soap. Keep a step ladder nearby so you can reach those high windows safely.
Clear Away Debris First
Use a soft brush or vacuum with a brush attachment to sweep away loose debris and dust from your windows. Work the brush around the edges, frames, and corners to remove stuck-on particles. Don't skip the window sills and tracks—they collect tons of dirt. Vacuum up all the loose dust so it doesn't scratch the glass when you start washing. Getting this step right makes everything else go smoother.
Handle Tough Stains
Some stains won't come off without special treatment. Identify the type of stain you're dealing with first. Grease needs a degreaser, while mineral deposits respond better to a mild acid solution. Apply your chosen treatment generously to the problem areas and let it sit for a few minutes to break down the stain. Gently scrub with a soft brush or non-abrasive sponge. Rinse everything off with clean water before proceeding to the main cleaning.
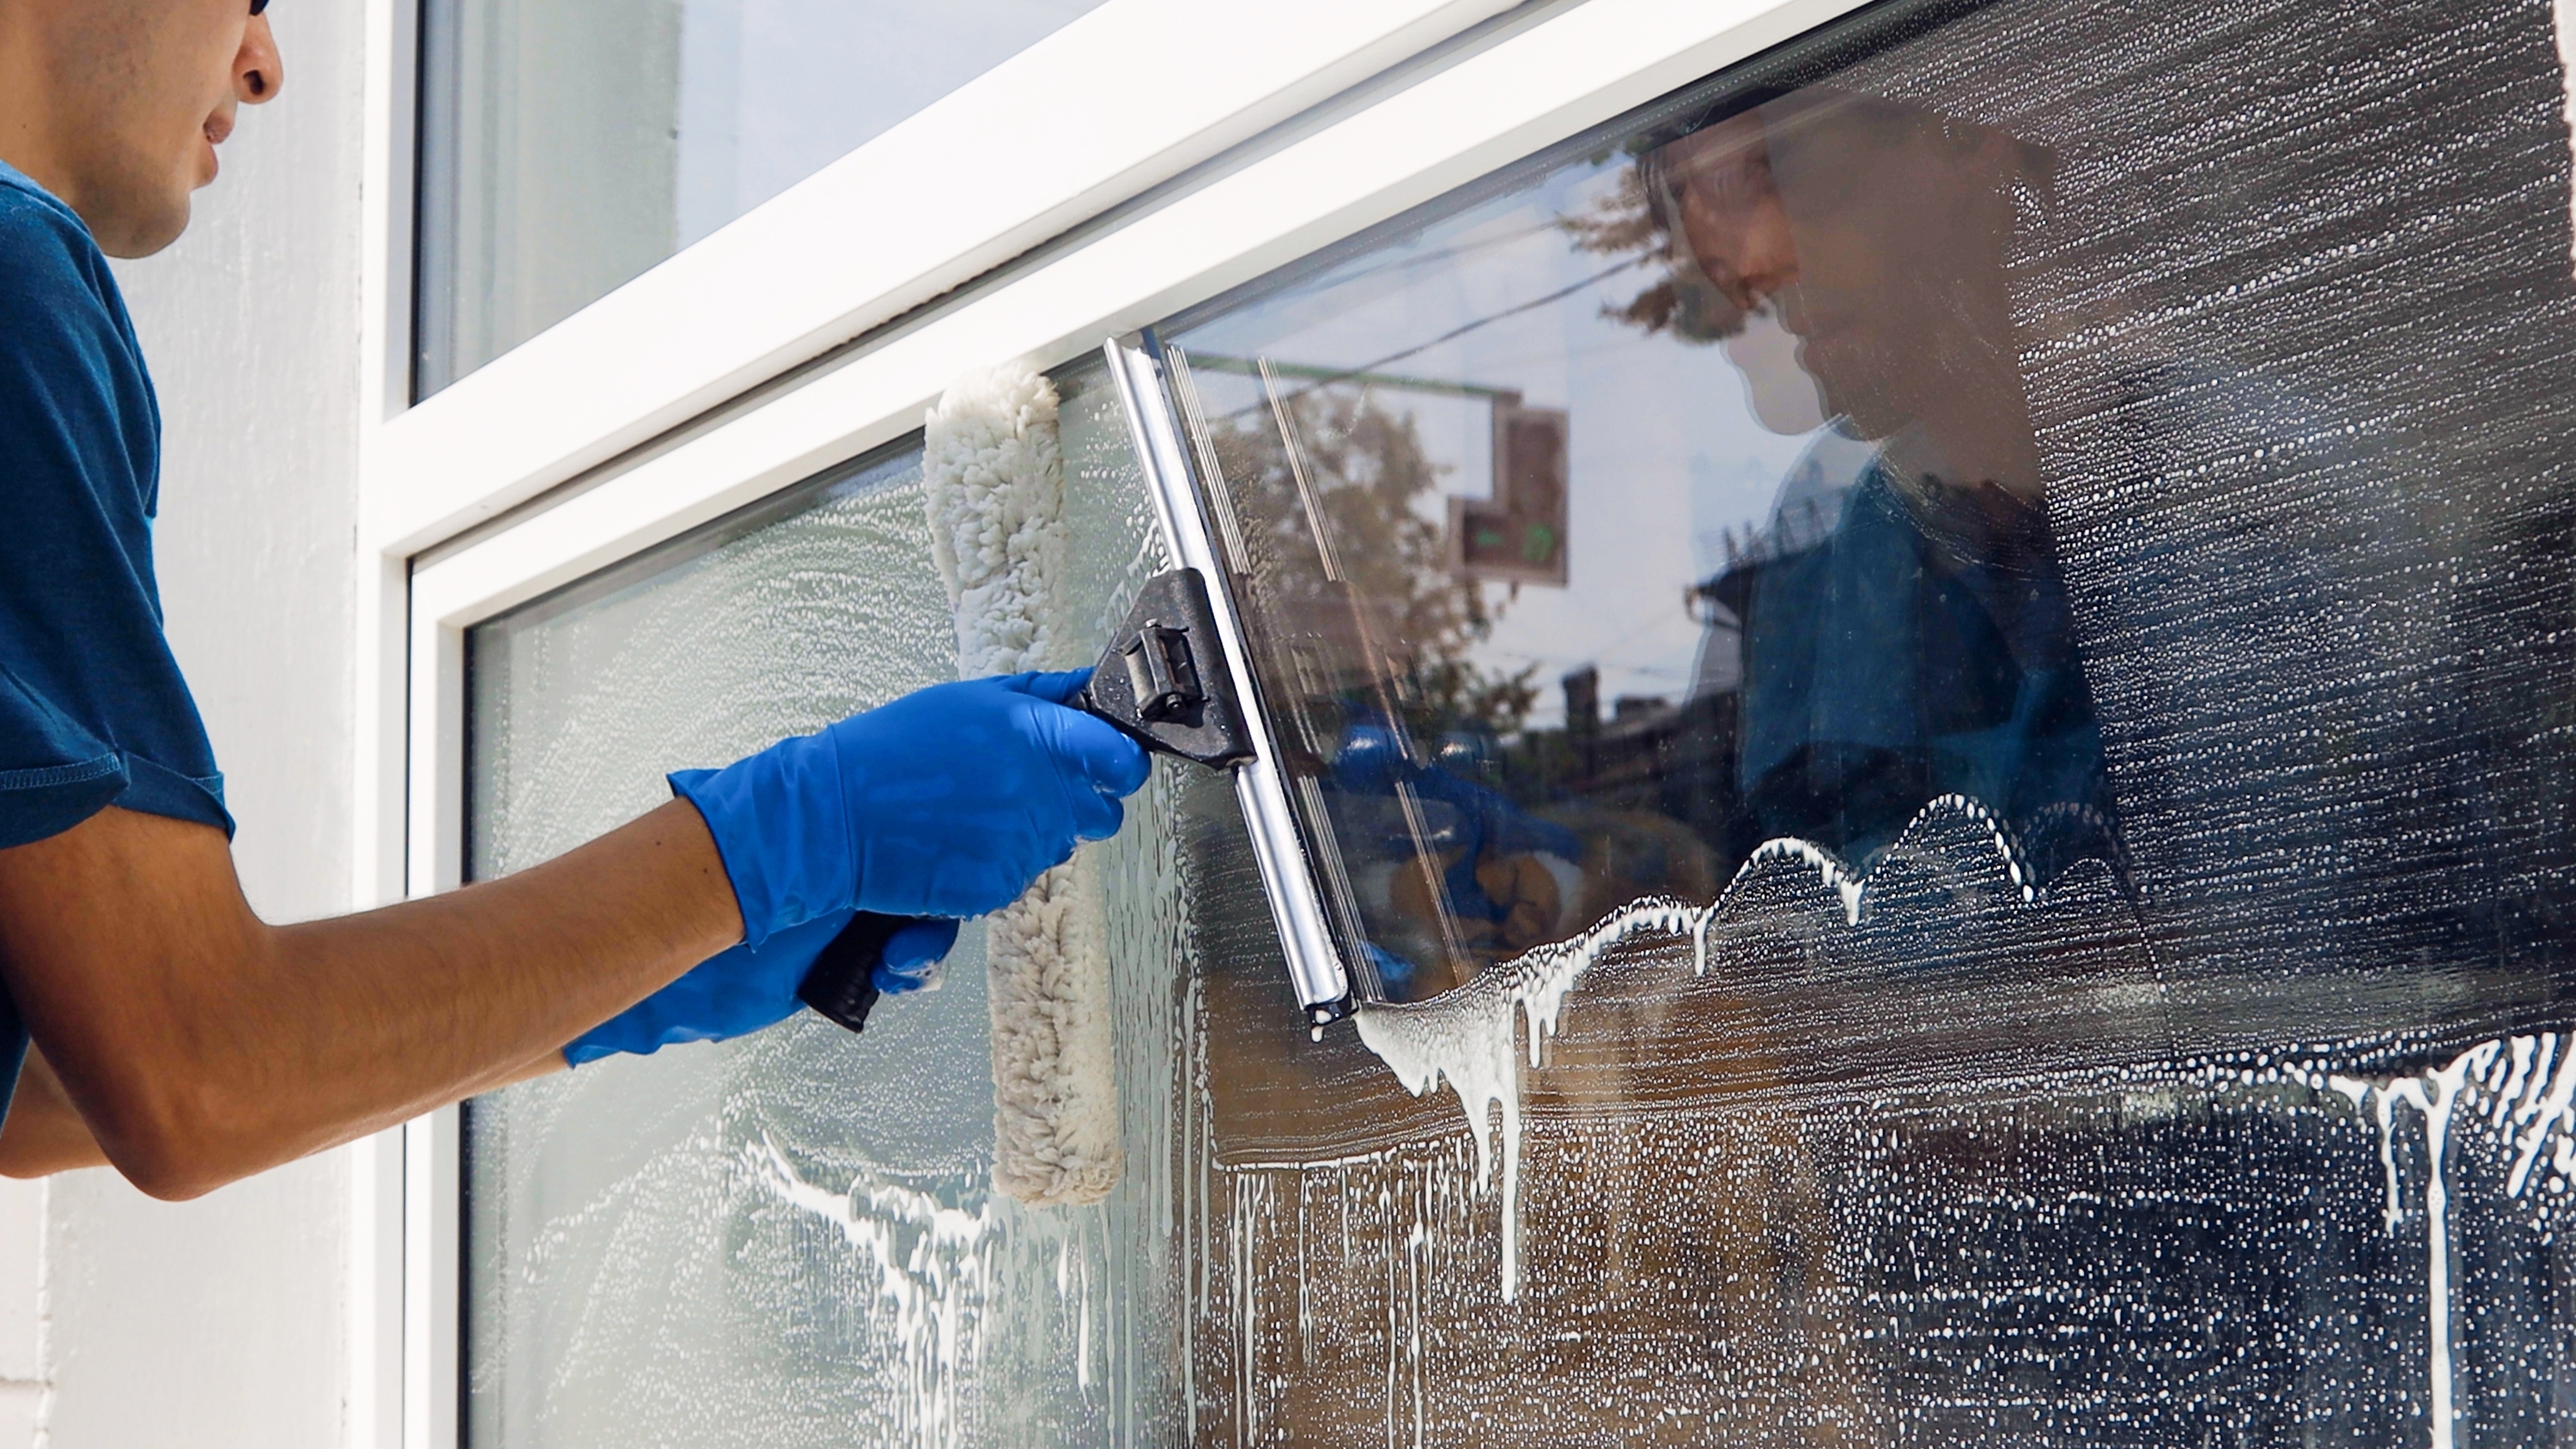
Wash the Glass
Mix a small amount of dish soap with water in your bucket. Dip your squeegee in the solution and clean the window in a reverse S-pattern, starting from the top. Ensure your squeegee blade is in good condition—a worn blade leaves streaks on the surface. Wipe the blade with a clean cloth after each pass. Use a microfiber cloth to catch any drips around the edges and corners. Continue until the window appears clear and streak-free.
Dry and Shine
Use a dry,, lint-free microfiber cloth to polish the windows in circular motions. Start at the top and work down to avoid streaks. Ensure your cloth is completely clean and dry—any dampness or dirt will be visible on the glass. Pay extra attention to edges and corners, where water tends to accumulate. Use a separate cloth for the frames to prevent dirt from being transferred back to the clean glass. Work in small sections to maintain control and achieve an even shine across the entire window.
Final Check
Inspect each window carefully for any spots or streaks you may have missed. Use a clean cloth to inspect the glass under various lighting conditions. Check from inside looking out, then from outside looking in. Focus on corners, edges, and frames where grime tends to hide. If you spot anything, apply a small amount of window cleaner to a microfiber cloth and rub it gently in circular motions. Buff the spot with a dry cloth until it shines. This final inspection guarantees your windows are completely clear.
Related Topics:

