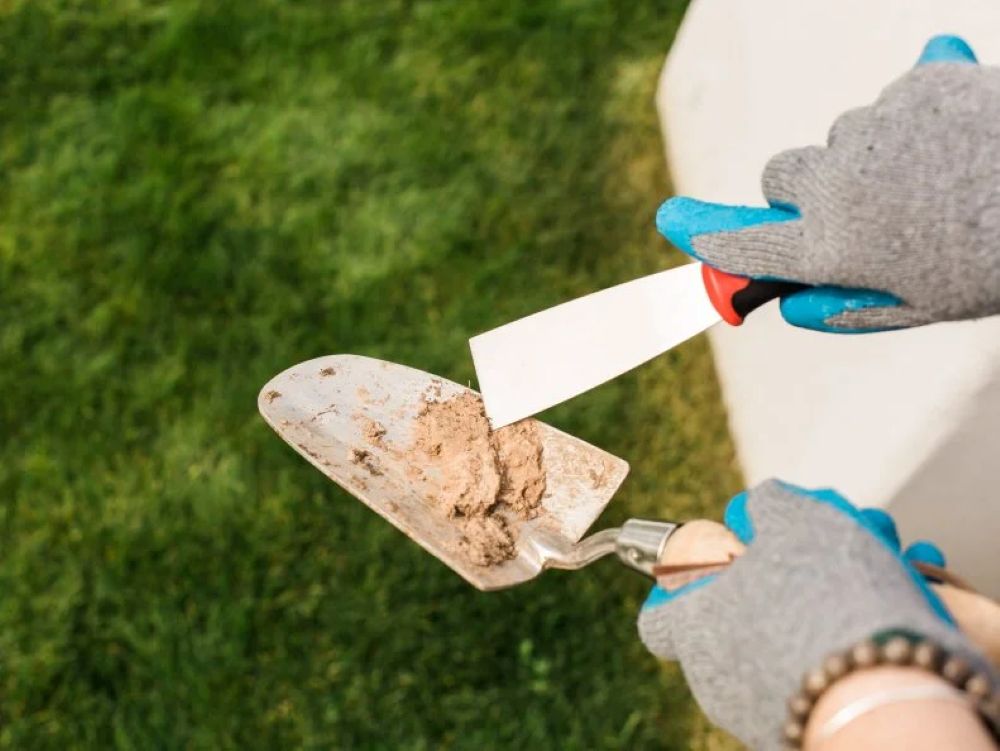
How Do You Clean Concrete Tools: A Step-by-Step Guide

Concrete tools can get messy quickly, and dried concrete can damage them if not cleaned properly. Keeping your tools in good shape means they'll last longer and work better on every job. Like reliable cleaning services that follow proven methods, tool maintenance requires a consistent approach. This guide walks you through each step of cleaning concrete tools, from removing buildup to preventing rust. Follow these simple steps to keep your tools ready for the next project.
Gather Necessary Cleaning Supplies
Before you start cleaning, gather all the necessary items. Grab a stiff-bristled brush, a bucket, mild detergent or dish soap, water, rubber gloves, and safety goggles. The stiff brush helps scrub off stubborn concrete bits, while the bucket holds your cleaning solution. Mix a small amount of mild detergent or dish soap with water in the bucket. Wear rubber gloves to protect your hands from chemicals, and put on safety goggles to shield your eyes from splashes. Having everything ready makes the cleaning process faster and easier.
Remove Excess Concrete Buildup
Check your tools for any large chunks of dried concrete that need to come off first. Use a hammer or chisel to carefully chip away big pieces that have hardened on the surface. For smaller areas, a wire brush or metal scraper works well to scrape off excess concrete. Take your time with this step so no leftover concrete gets in the way later. Pay special attention to crevices and corners where concrete likes to hide. Once you've removed the excess buildup, your tools are ready for the next step in the cleaning process.
Soak Tools in Cleaning Solution
Put your concrete tools in a cleaning solution to loosen any remaining concrete. Pick a product made specifically for breaking down concrete, like a commercial concrete remover or a water and muriatic acid mix. Fill a large container with enough solution to completely cover the tools. Place the tools in the solution so they're fully submerged. Let them soak for the time listed on the product instructions, usually 30 minutes to an hour. This soaking breaks down and lifts stubborn concrete deposits, making the scrubbing easier.
Scrub and Rinse Thoroughly
Scrub the soaked tools vigorously with a stiff brush to remove any remaining concrete that's still adhered to them. Focus on areas where concrete accumulates most, such as crevices and edges. Use firm pressure to remove tough deposits. While you scrub, rinse the tools with clean water periodically to wash away the loosened bits. Continue scrubbing until the tools appear clean and free of concrete residue. Give the tools one final rinse to ensure all concrete residue is removed. Good rinsing stops any leftover residue from hardening again.
Dry Tools Completely
Dry your tools thoroughly using a clean, absorbent cloth or towel to maintain their good condition. Moisture left on tools after cleaning can cause rust and corrosion, which hurts their performance. Wipe down each tool one at a time, ensuring all surfaces are dry. Check crevices and joints carefully, as water often collects in these areas during cleaning. Use compressed air or a fan to accelerate drying if necessary, especially for tools with intricate shapes or hard-to-reach areas. Proper drying helps your tools last longer and work better on your next job.
Apply Rust-Preventative Coating
After your tools are completely dry, protect them from rust by applying a rust-preventative coating. This step ensures your tools remain functional for years. Select a high-quality rust-preventative coating that matches the type of metal in your tools. Ensure the tools are clean and free of debris before beginning. Using a brush or cloth, spread the coating evenly on all exposed metal surfaces. Allow the coating to dry completely, following the product's instructions. Once it's cured, the coating creates a protective barrier that prevents rust and corrosion, allowing your tools to last much longer.
Related Topics:


