
What Is a Practical Way of Post-Construction Cleaning: Smart Solutions for Homeowners
Post-construction cleaning can feel overwhelming, but it doesn't have to be. This guide breaks down the cleaning process into manageable steps that any homeowner can follow. From removing debris to tackling stubborn stains, we'll cover everything you need to know. If the job feels too big, an Austin house cleaning service can handle the heavy lifting for you. Here's how to get your newly renovated or built home sparkling clean.
Preparing Your Home for Cleaning
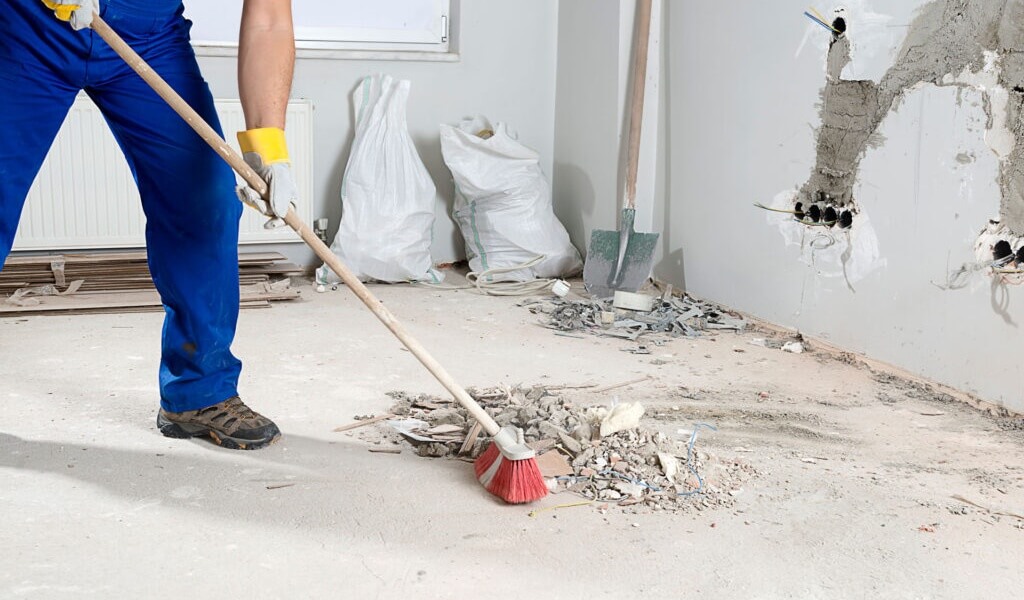
Start by clearing out all areas to ensure easy access for cleaning. Remove construction debris, such as nails, wood scraps, and packaging materials, immediately. Dust surfaces such as countertops, shelves, and furniture to stop dirt from spreading during cleanup. Cover delicate items with sheets or plastic to protect them from cleaning products. Open windows to let in fresh air and turn off your HVAC system to prevent dust from circulating. Keep pets in a safe spot away from the cleaning area. These simple steps set you up for a smooth cleaning process.
Organizing Supplies and Equipment
Collect all your cleaning supplies before you start to save time and work smarter. You'll need heavy-duty trash bags, a vacuum cleaner with extra filters, microfiber cloths, all-purpose cleaners, mops, buckets, gloves, and masks. Store these items in a cleaning caddy or container so you can easily move from room to room. Ensure your vacuum has strong suction to effectively pick up construction debris. Verify that your cleaning solutions are effective on various surfaces, including wood, tile, and countertops. Having everything within reach makes the job faster and less stressful.
Dusting and Vacuuming Strategies
Plan your dusting and vacuuming approach to tackle post-construction mess efficiently. Here are three tips to clean effectively:
- Start from top to bottom: Dust high surfaces, such as ceiling fans, light fixtures, and wall corners, first, then move to countertops and floors. This stops dust from landing on areas you've already cleaned.
- Use the Right Tools: Invest in a high-quality vacuum with a HEPA filter to capture fine dust particles. Microfiber cloths work great for trapping dust instead of spreading it around.
- Vacuum Regularly: Vacuuming often during cleanup prevents dust from accumulating and becoming more difficult to remove, making your job easier overall.
Dealing With Stubborn Stains
Post-construction stains require specific approaches to restore surfaces to their original condition. For oil-based stains, such as grease or paint, mix dish soap with warm water and gently scrub the affected area. Rust stains respond well to lemon juice or vinegar because of their acidic properties. Mineral deposits from hard water dissolve with a vinegar and water solution. Stubborn adhesive residue can be removed with rubbing alcohol or a commercial adhesive remover. Always test these solutions in a discreet location first to ensure they won't damage the surface. Rinse thoroughly after cleaning to prevent residue buildup.
Proper Disposal of Construction Waste
Dispose of construction waste responsibly by adhering to your local regulations and guidelines. Proper handling protects the environment and ensures the safety of everyone involved. Here are three steps for disposing of construction waste correctly:
- Sort waste materials: Separate recyclable items, such as metal, wood, and concrete, from non-recyclable materials to make disposal and recycling easier.
- Utilize designated disposal sites: Find authorized facilities that accept construction waste and follow their specific rules for drop-off or collection.
- Consider waste reduction strategies: reduce waste by planning, reusing materials whenever possible, and selecting eco-friendly options during the construction process.
Final Touches and Inspection
The final inspection phase helps you spot any remaining tasks or issues that need attention before moving in. Walk through each room carefully to check for imperfections in paint, flooring, or fixtures. Test all appliances to confirm they function correctly and verify that the plumbing and electrical systems are working properly. Look closely at details like trim work and caulking, as these small touches significantly impact the overall appearance of the finished space. Check that windows open and close smoothly, doors latch properly, and all light switches work. Once you've reviewed and fixed every detail, your home is ready for you to enjoy.
Related Topics:

